AquaWiz KH Controller
Product information "AquaWiz KH Controller"
Aquawiz – The Fourth-Generation KH Controller!
Smarter, Sleeker, and Featuring Groundbreaking pH Analysis!
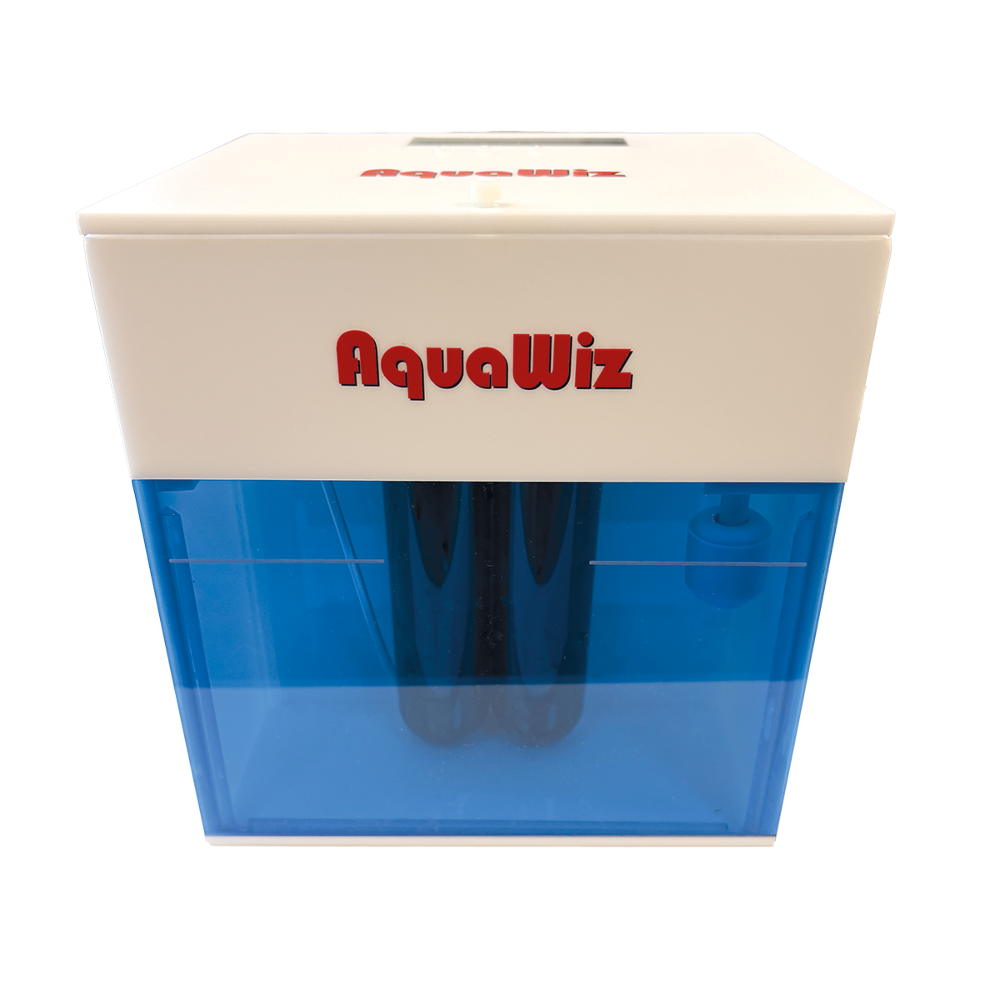
Say goodbye to test solution bottles and tedious daily routines! This revolutionary invention, the AquaWiz KH Controller™, automatically measures and regulates the KH value in your aquarium.
All you need to prepare is a "reference solution." This can consist of natural seawater, your existing aquarium water, or freshly prepared synthetic seawater with stable alkalinity. The reference solution is recycled and reused during the measurement process.
No wastewater is produced, and no acidic solution is generated. This is an environmentally friendly solution capable of both KH measurement and KH regulation.
The 4th Generation Is Here – Smarter, Sleeker, and Featuring Groundbreaking pH Analysis!
New Design & Easy Setup
The 4th generation impresses with a modern, matte finish for a premium look. More importantly, the entire setup is now conducted directly via your smartphone – intuitive, fast, and without the need for a PC or complex connection steps.
NEW: ΔpH Indicator Analysis – More Insight, Less Maintenance
A true highlight is the newly developed function for ΔpH analysis – an intelligent method to assess water quality based on the difference between the current pH value (pH) and the theoretically maximum value after complete aeration (pH(O)).
The metric ΔpH = pH – pH(O) provides a reliable indicator of the system's condition – independent of calibration drift or probe aging. A value above –0.3 indicates a stable and healthy aquarium environment.
Your Advantages at a Glance:
- Less Calibration Needed:
Monitoring ΔpH automatically shows when calibration is necessary – without relying on potentially skewed absolute pH values. - Easy Optimization:
ΔpH reacts noticeably to environmental factors like aeration, CO₂ concentration, or lighting. Users can test targeted measures and monitor the effect in real-time. - Early Detection of Issues: Sudden ΔpH changes often indicate problems with technical components (e.g., skimmers, aeration), enabling a quick response.
"Absolute values can be misleading – but difference values tell the truth."
With a combination of smart setup, new design, and cutting-edge ΔpH technology, the 4th generation is our most powerful system yet – for anyone looking to redefine control, stability, and user-friendliness in marine aquariums.
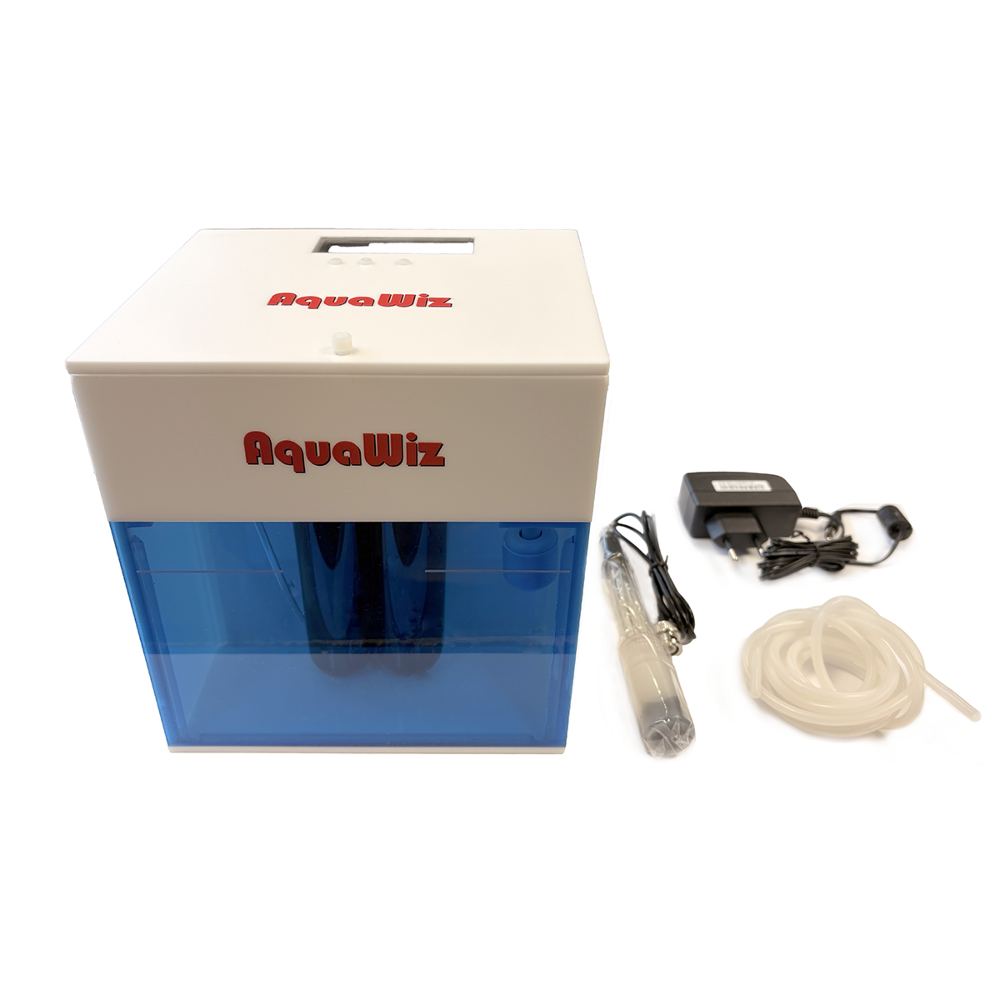
Contents + Technical Information:
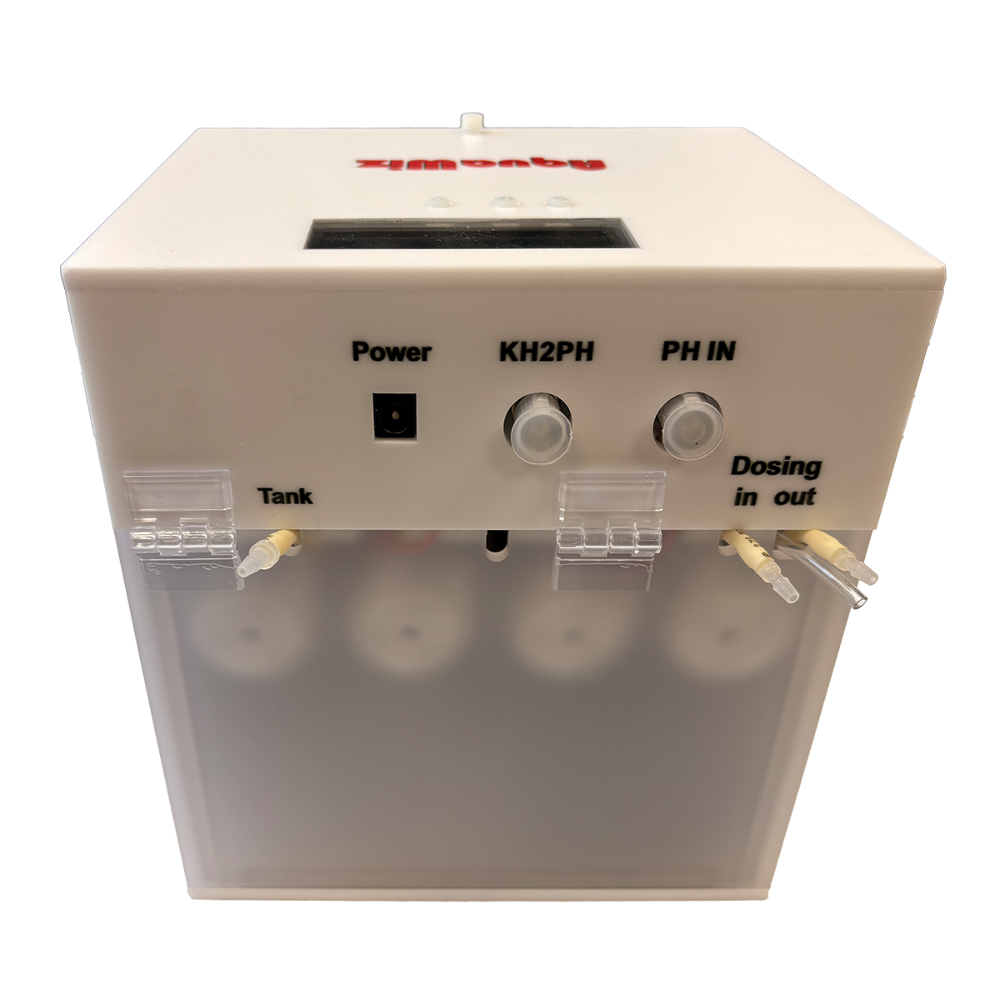
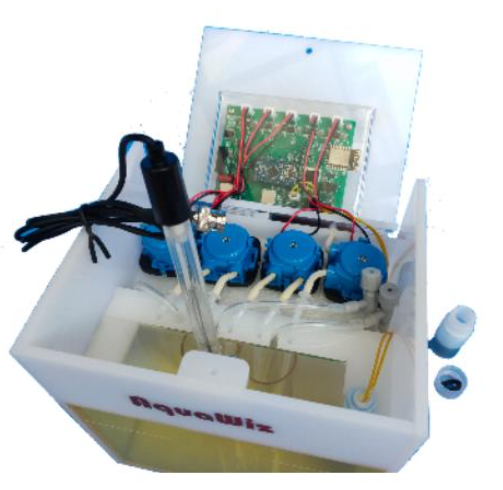
- Under the Hood: DIY-friendly design. Control circuit, pump.
- Buttons: Three buttons, from left to right: [- / L], [+ / R], [Enter / Select].
- pH Probe (PH IN): Compatible with all aquarium pH probes.
- Power Supply: 12V 1A input.
- KH Dosing (Inlet/Outlet):
- Inlet: For drawing the KH solution.
- Outlet: Dispenses the solution into your aquarium to increase the KH value.
If the KH value drops below the target, it can be supplemented as needed.
- KH-to-pH Output (BNC Connector): Can be used with Apex, Ekoral, or pH monitors to display KH values.
More Information
For additional information and application notes about our products, visit https://www.faunamarin.de/support-downloads/ or our YouTube channel: Fauna Marin YouTube Channel
YouTube
Operating Instructions - AquaWiz Gen 3
Setup
Horizontal Placement of the KH Controller:
Place the KH controller horizontally. The AquaWiz does not need to be perfectly level but should be as close as possible to the aquarium or sump.
Inserting the pH Probe:
- Remove the pH probe from its storage bottle and check for cracks in the glass bulb or electrolyte leaks. The pH glass bulb is extremely fragile.
- Open the top cover of the controller, carefully insert the pH probe into the hole of the left reagent tube, and lift the left air stone to ensure it does not touch the pH glass head.
- Ensure the pH glass head is about 0.5 cm above the bottom of the reagent tube to prevent breakage.
- Plug the pH connector into the rear BNC socket.
- Close the top cover and tighten the screws.
- After inserting the pH probe, wait 3 minutes; during A6, the LCD should display "LF 100" normally. If "LF 0" or "Error" is displayed, there is a malfunction; please replace it.
- The pH probe’s lifespan is displayed hourly on the website; do not judge the condition of the new pH probe based on this website information.
Connect the Inlet to the Sump or Aquarium:
- The left rear water pipe interface is used for KHA aquarium water intake and testing, as well as for drainage.
- It is recommended to use a silicone tube with an inner/outer diameter of 3/5 mm. There is no length restriction, but shorter lengths are preferred to reduce motor operation time.
- Place the outlets of the calcium reactor or KH dosing in the main pump area of the sump.
- Attach the provided sink head to the end of the KHA intake pipe and place it in the overflow area to prevent high-concentration seawater with high KH from being drawn in.
- Ensure the hose does not float above the water surface to avoid sucking in air. Do not place it near the sludge at the bottom to prevent clogging.
Connect the Power Supply:
- Connect the 12V output of the power supply.
- Plug the power supply into the socket. The KH controller will power on.
Do Not Connect the KH Dosing Tube Immediately:
- Wait about three days until the KH measurement stabilizes and the KH calibration is completed.
- After setting the [KH Dosing] parameters on the website, connect the KH dosing tube.
- Do not discharge directly into the aquarium at first. Instead, use a container to test the accuracy of the dispensed amount.
- Once confirmed, proceed to discharge into the aquarium.
Turn On AquaWiz:
- Upon power-up, the device automatically tests each pump. The motor rotation sequence is as follows: the first motor rotates clockwise then counterclockwise, followed by the third motor, each in turn. The fourth motor rotates only counterclockwise.
- The device enters the settings menu. If no button is pressed, the KH measurement procedure begins automatically after 30 seconds.
- Press any button to enter the settings menu again. It will remain in the main menu for 30 seconds before switching to the automatic KH measurement cycle. You can interrupt this cycle by pressing any button.
- It takes 20 minutes (including 15 minutes of bubble development) to complete a measurement. The automatic KH measurement at startup is useful in the event of a power outage.
- Due to the fresh surface condition of the new KH controller, it may take up to three days to achieve stable KH values.
Main Menu:
- Input Method:
- Three buttons, from left to right: [- / L], [+ / R], [Enter / Select]
WiFi Connection (Initial Configuration Required)
- Select [WiFi] in the LCD menu.
- Connect your smartphone or computer to the AquaWiz KH WiFi network.
- Upon successful connection, the default browser will display the right screen.
- Enter the name of your home WiFi or mobile hotspot (SSID), password, and select your time zone.
- Click [Connect], and the KH controller will connect to the internet. Upon successful connection, only the entered data will be displayed.
What to Do If the WiFi Connection Fails?
- If the connection fails, [AP Fail!] will be displayed along with the previously entered values. Check for case sensitivity, spaces, and ensure you do not use the '&' symbol, then reset accordingly. Connection failure can occur if the WiFi signal is weak, the AP limits the number of connections, or there is external network congestion. Try using the mobile hotspot as an AP. If successful, this indicates an issue with the wired AP station or network.
- AquaWiz can only connect to a 2.4 GHz network. The 2.4 GHz and 5 GHz frequencies on WiFi6 routers must not have the same SSID (WiFi name). Successful connection results in the correct time displayed during measurements, reflecting network time. Connection failure will display the time as [00:00].
- In situations where a connection is not possible, the device can still perform measurements and KH dosing based on previous settings, but cannot upload data or download setting changes from the website. For temporary setting changes on the website, create a mobile hotspot (as an AP station), set up the KHA WiFi to connect to the mobile hotspot, make changes on the website, and select [Sync] on the KHA to download the settings. After completion, the mobile hotspot can be turned off.
- In the event of a connection loss, hourly KH data cannot be uploaded and will be lost. Even if the connection is restored later, previously lost KH data will not be uploaded.
Refilling the Reference Seawater in the Container:
- Navigate to the menu and select [Other]. Press the selection button to skip the [KH to PH output] setting.
- Next, select [Fill], and the device will automatically fill the water box to the marked height.
- Upon completion, it will automatically start the measurement process, which takes about 20 minutes.
If you want to change the water, select [Refill]. The device will automatically drain and refill water, taking about 40 minutes. Upon completion, it will automatically start the measurement process.
Automated KH Measurement Process:
- After completing the water box filling process or within the settings menu, the KH measurement process will start automatically after 30 seconds.
- KH: Aquarium KH value. The first KH value is measured about 20 minutes after the process begins.
- LF 100: pH probe lifespan at 100%. If it is less than 100, be prepared to replace the pH probe. It takes about a week to drop to zero, indicating it is no longer functioning. After replacing the pH probe, wait about 3 minutes. The display of [Error] indicates either the pH probe is not plugged in or there is a break in the pH probe circuit.
- A6: Step 6 in the process.
- 19:35: Current time. When connected to the internet for time synchronization, the correct time indicates a normal connection and network.
- L: Water level slightly low. H: Water level slightly high. The system will automatically adjust to the optimal level after a few hours. If not displayed, the level is optimal.
- Rep: If the difference from the previous measurement is greater than 0.2, a re-measurement is triggered.
[Pump] Test Tube Water Level Calibration (Initial Configuration Required)
- As the measurement progresses to the sixth step (displayed as A6 on the LCD), you can press any button to enter the main menu.
- Select [Pump] to adjust the water level in the chambers. The water level adjustment is not displayed in other steps. For immediate adjustment, unplug and start from A2.
- Select [Pump] to adjust the water level within the test tubes. If the right test tube contains no water and Motor A5 rotates, check if the intake pipe to the aquarium is submerged. If the intake pipe does not float and sucks in air, it may be due to the length of the intake pipe.
- Adjust the test tube water level using the following method: When [Tune Left Tube] is displayed, adjust the left test tube water level.
- Press the increase or decrease buttons to adjust the water level to the scale, then press the enter button.
- Switch to the right test tube and repeat the same steps to complete the right test tube pump water level calibration.
- After prolonged use, if the water level difference is within 0.5 cm and measurements are not affected, adjustment may not be necessary.</ Generierung fortsetzen ChatGPT kann Fehler machen. Überprüfe wichtige Informationen.
Manufacturer Information:
Product Name: AquaWiz
EU Distributor Address: Fauna Marin GmbH, Gottlieb-Binder-Str.9, 71088 Holzgerlingen, Germany
EU Distributor Contact Email: Fauna Marin GmbH: info@faunamarin.de
Manufacturer Contact Email: aquawiz.kh@gmail.com, www.aquawiz.net

